Table of Contents
What is NFT?
NFT is short for Non-Fungible Token. In fact it’s a reference to a (digital) asset. And that asset can be everything from a poem to a software. You also may reference to a physical asset. In short: A NFT can be understand as an evidence of ownership.
The token aka the reference is saved on a blockchain. Not every blockchain supports non-fungible tokens. One of the most popular blockchains is Ethereum. You can trade this token using a NFT exchange and the trade will also be saved to the blockchain.
Advantages
The blockchain is a pretty safe place. Usually there’s no way to manipulate the token or the trade.
Another essential aspect of blockchains is the anonymity. You may just create an account at an exchange, mint your asset (I’ll come to that later) and sell it to some Jane Doe.
Disadvantages
The token is only a reference to a good, e.g. a file that has to be hosted somewhere. If the server is down, the token is kind of worthless.
Depending on the blockchain’s verification mechanism, any operations such as minting or selling requires computing power and therefore energy. The exchange could charge you with a transaction or minting fee. Though you have to mention, that any conventional market place has operational costs or wants to create revenue.
Also the ownership of the token does not necessarily mean that the asset can be sold again. If it’s an digital image, and if not forbidden in the terms of sales, the seller of the NFT can sell as many copies as he want.
How to start with NFT
First you have to choose an exchange. The most popular one is OpenSea. When selecting your exchange, you should consider the transaction fee as well as the cost of minting. That’s the initial process of putting the NFT to the blockchain. OpenSea allows you to mint free of charge.
Second you need to select a wallet to manage your financials. Depending on the exchange you are using, you can connect different wallets. OpenSea for example currently supports the following wallet providers:
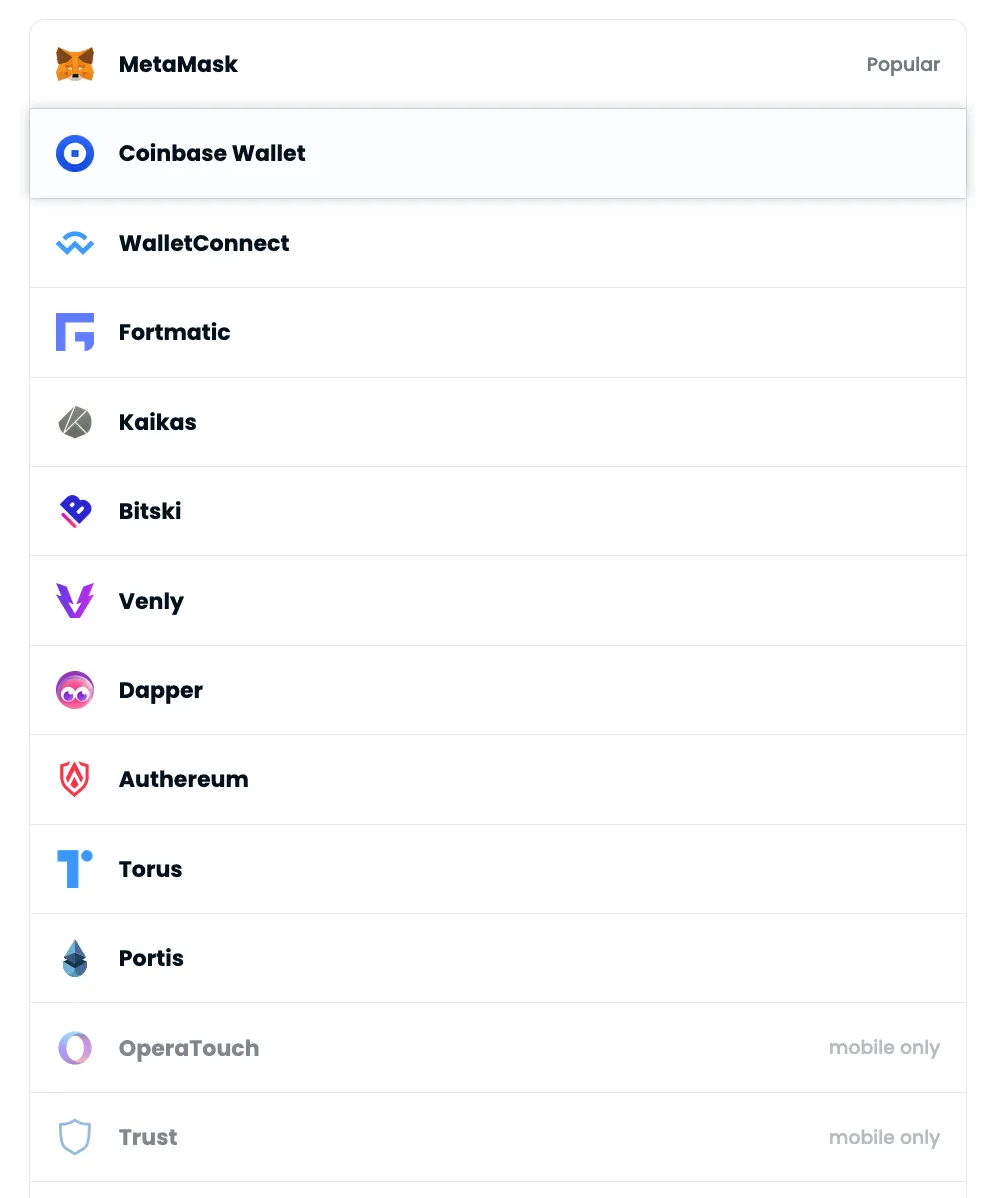
As stated in the screenshot, MetaMask is one of the most popular wallets. MetaMask comes as a plugin for the Firefox browser as well as an app for iOS and Android. I will not dive into the important security topic here. But IMHO a browser is not the safest place to manage your wallet. For the sake of convenience we will stick to this simple solution.
Install the MetaMask wallet as a Firefox plugin and add a Polygon wallet
After you downloaded the MetaMask plugin and added it to Firefox the plugin will guide you through the initial setup where you create a password protected wallet. Do not forget to write down the password recovery phrase, a combination of several English words.
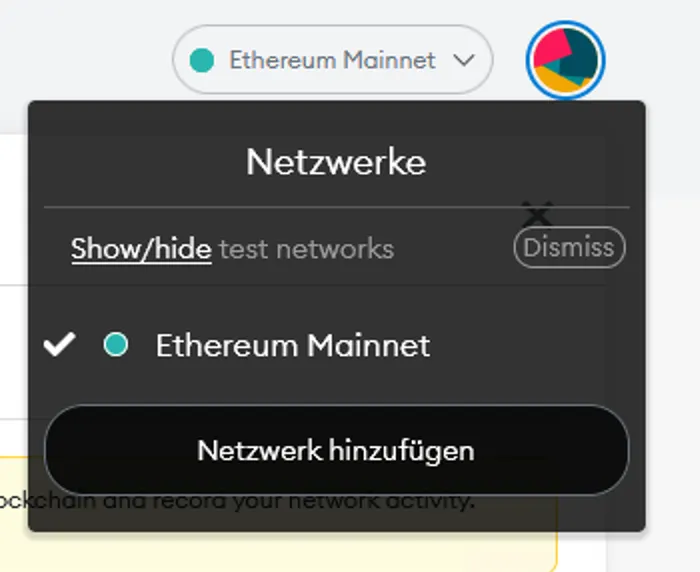
The initial setup creates a wallet for the well known Ethereum network. OpenSea supports the Ethereum and the Polygon network. Polygon is also using the Ethereum blockchain, but has no gas fee, the according currency is called MATIC. To also add a Polygon wallet to MetaMask just click on “Ethereum Mainnet” in the upper right and select “Add network” to open the “Add network” form.
Now you need to provide some technical details that are also listed [in the official documentation]((make sure you do not enter credentials from some fishy website, like medium.com):
Networkname: Polygon Mainnet
RPC URL: [https://polygon-rpc.com/](https://polygon-rpc.com/)
Chain ID: 137
Currency Symbol: MATIC
Block Explorer URL: https://polygonscan.com/
Hit the save button and you are done!
Create an OpenSea account
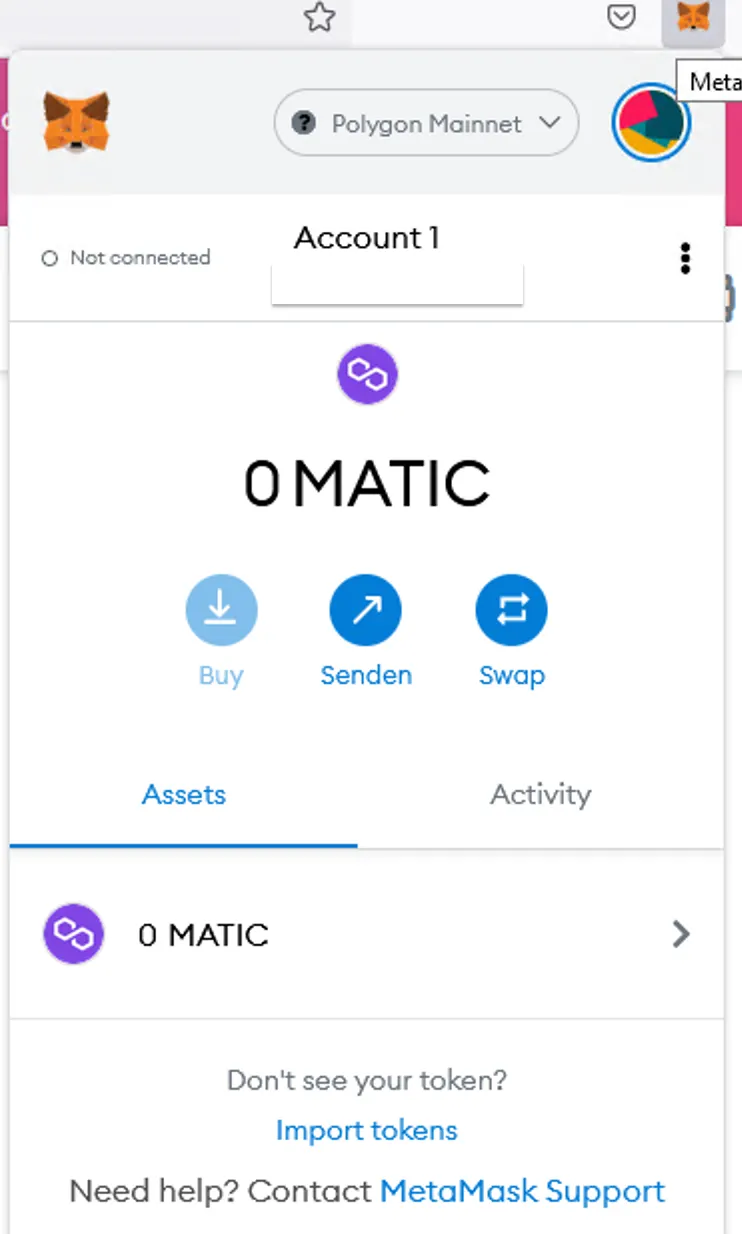
Now change over to OpenSea to connect your Polgyon wallet. Before you click on the MetaMask button, make sure that MetaMask is currently running in the Polygon network by just clicking the icon in the upper right — this is how it should look like:
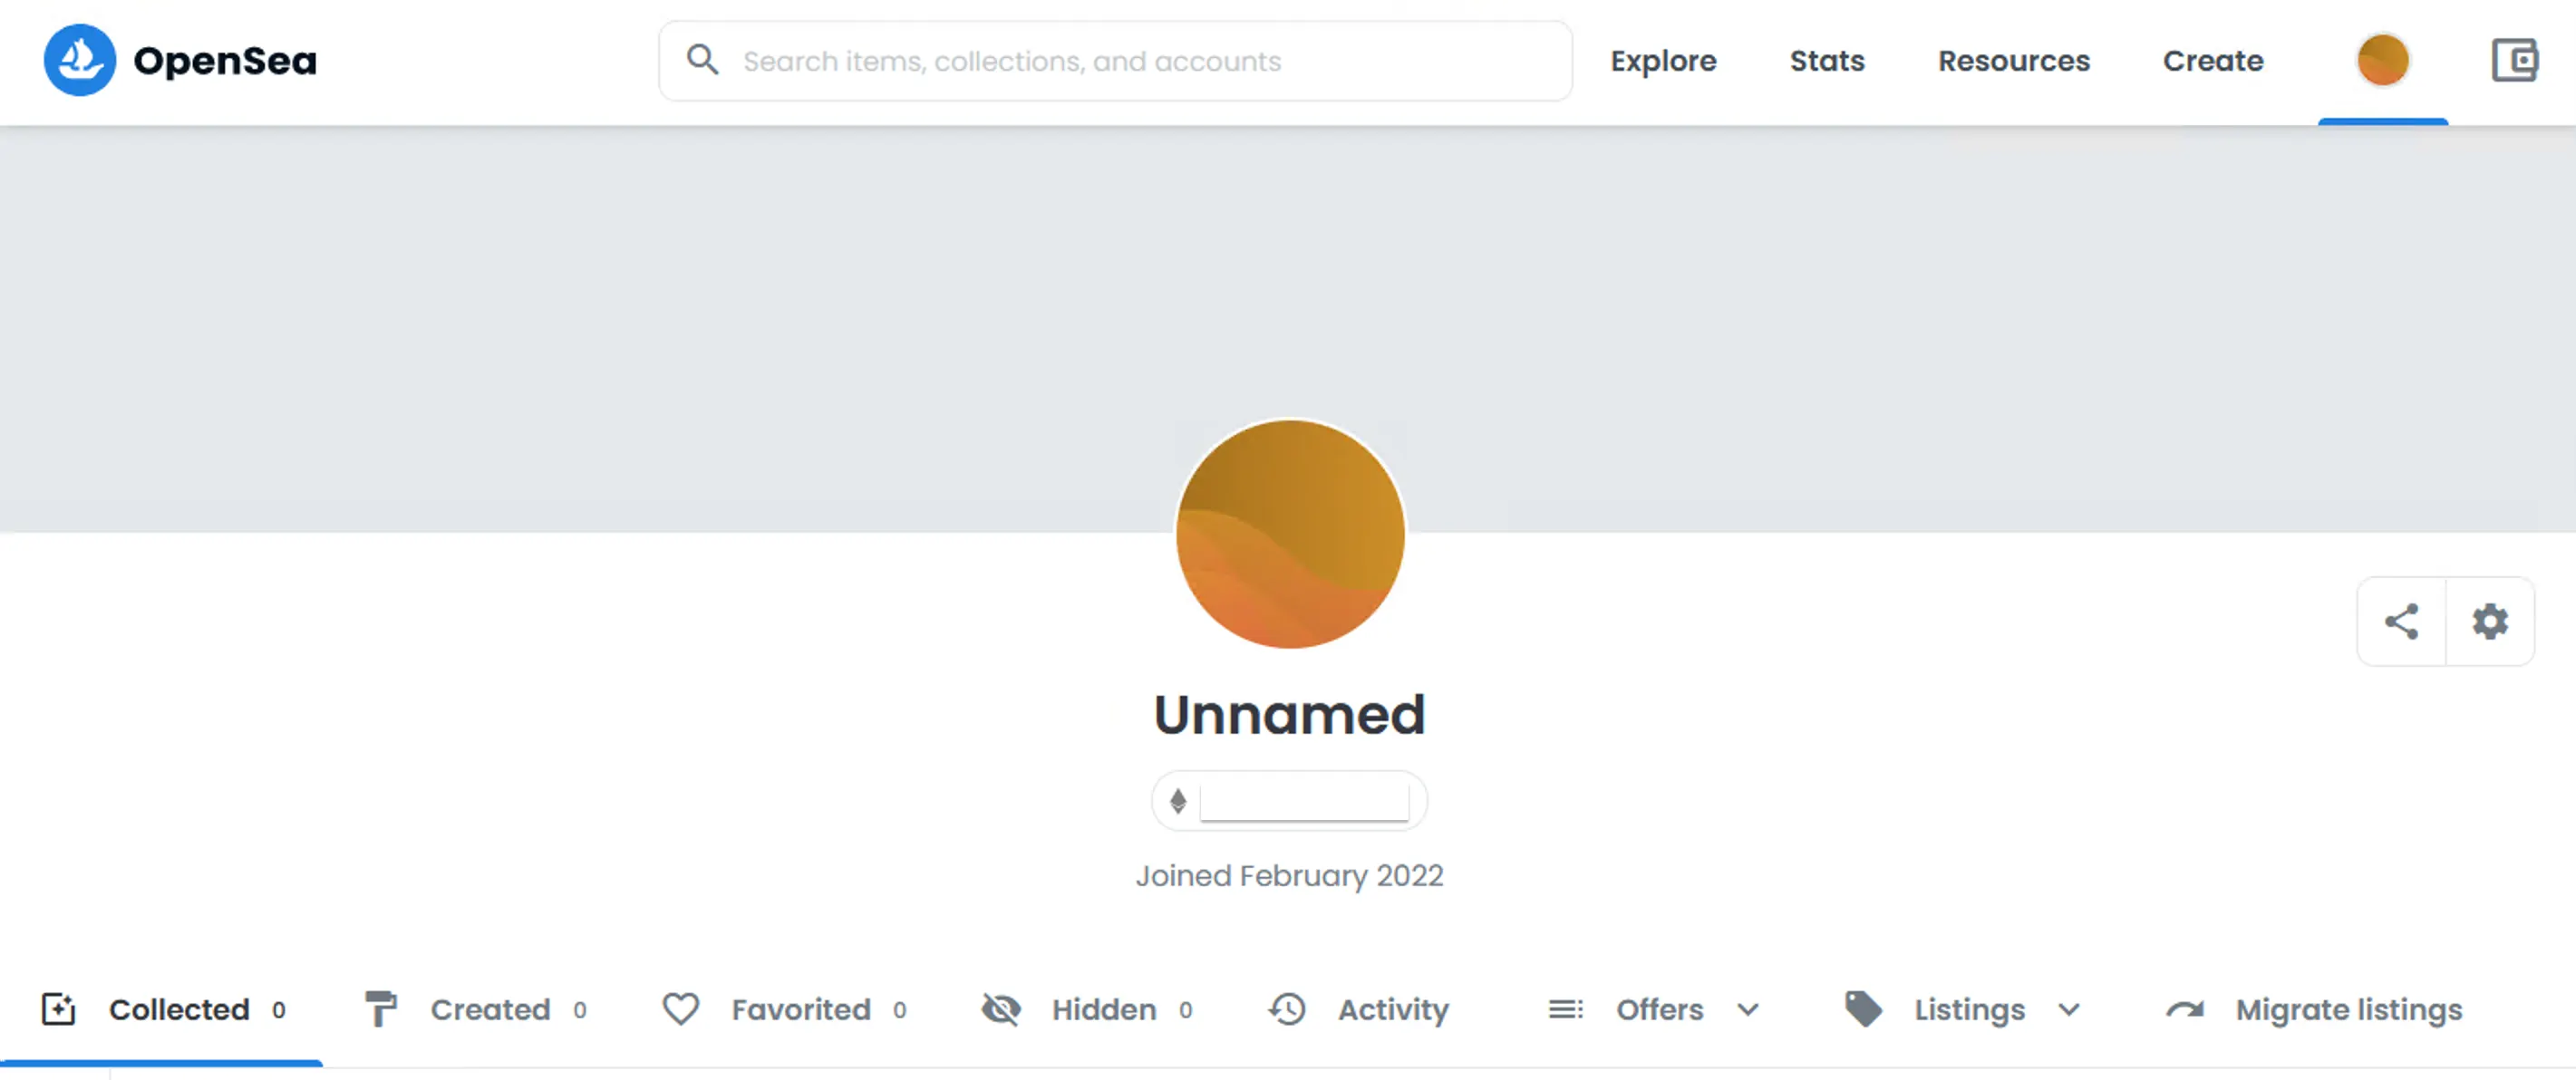
Now head back to OpenSea and click the MetaMask button. A popup should open showing your Polygon account with a balance of 0 Matic. Continue and confirm the connection request. When you’re done you should see the account overview like that:
Optional: Add a balance to your wallet
Creating a NFT means putting a piece of information to the blockchain which requires some computing efforts, which leads to energy consumption thus costs money. OpenSea currently does not charge you for the minting process. Just for the case let me quickly go through the top up-process to get some MATIC into your wallet.
There are several ways to top up your Polygon wallet with MATIC but unfortunately there’s no simple “checkout with PayPal” button. I’m using Binance , one of the better known exchanges, that also supports MATIC. I’m not leading you through the Binance account creation process.
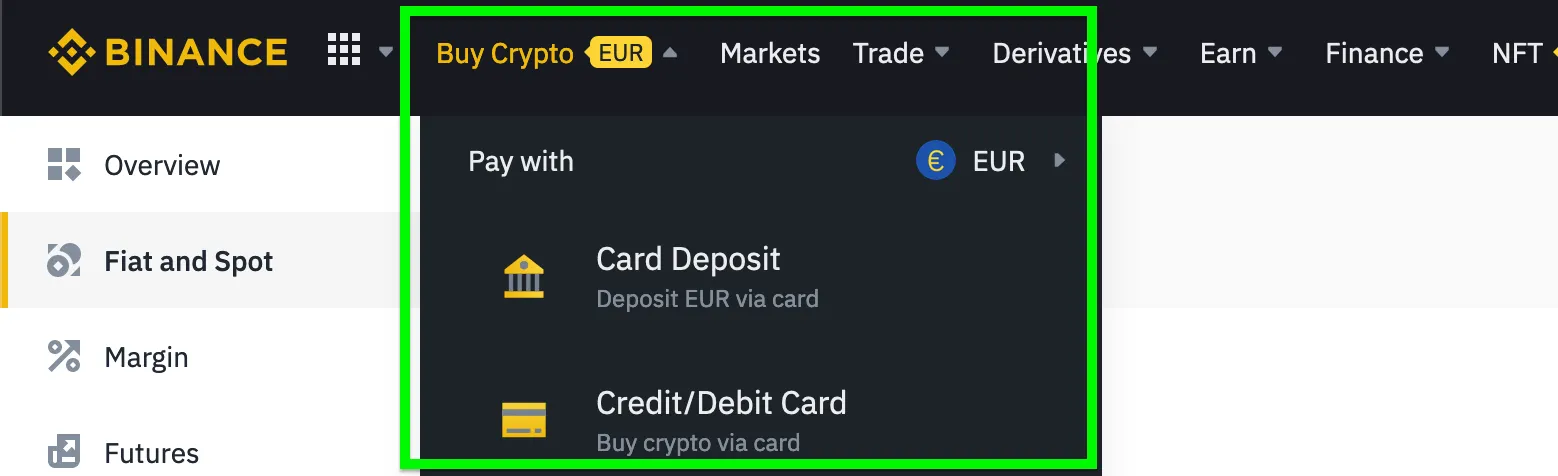
You can buy MATIC via the “Buy Crypto” menu on the top and your favorite payment method — just make sure you select MATIC as the desired currency.
Binance has a bottom limit of 15 EUR for a trade. This is by fare enough, as you will see later. After you bought some MATIC, the transaction should not take more than a couple of seconds, you need to send the MATIC to your MetaMask wallet. Click on the MetaMask icon in your browser and then on account name — that copies your wallet address to the clipboard. Always make sure you selected the Polygon network! It should look like that:
10x1db3fgEc712347C312B28ADa94bC1afb7Dd170A01
In case you are wondering where Binance hides the transfer function: Clicking “Wallet” in the upper menu and then selecting “Fiat and Spot” leads you to [your asset overview](Now look for the MATIC row and click “Withdraw”. The following form wants your wallet address, the required amount and of course the currency (MATIC) and the network (Polygon). As you can see you will be charged with a network fee.
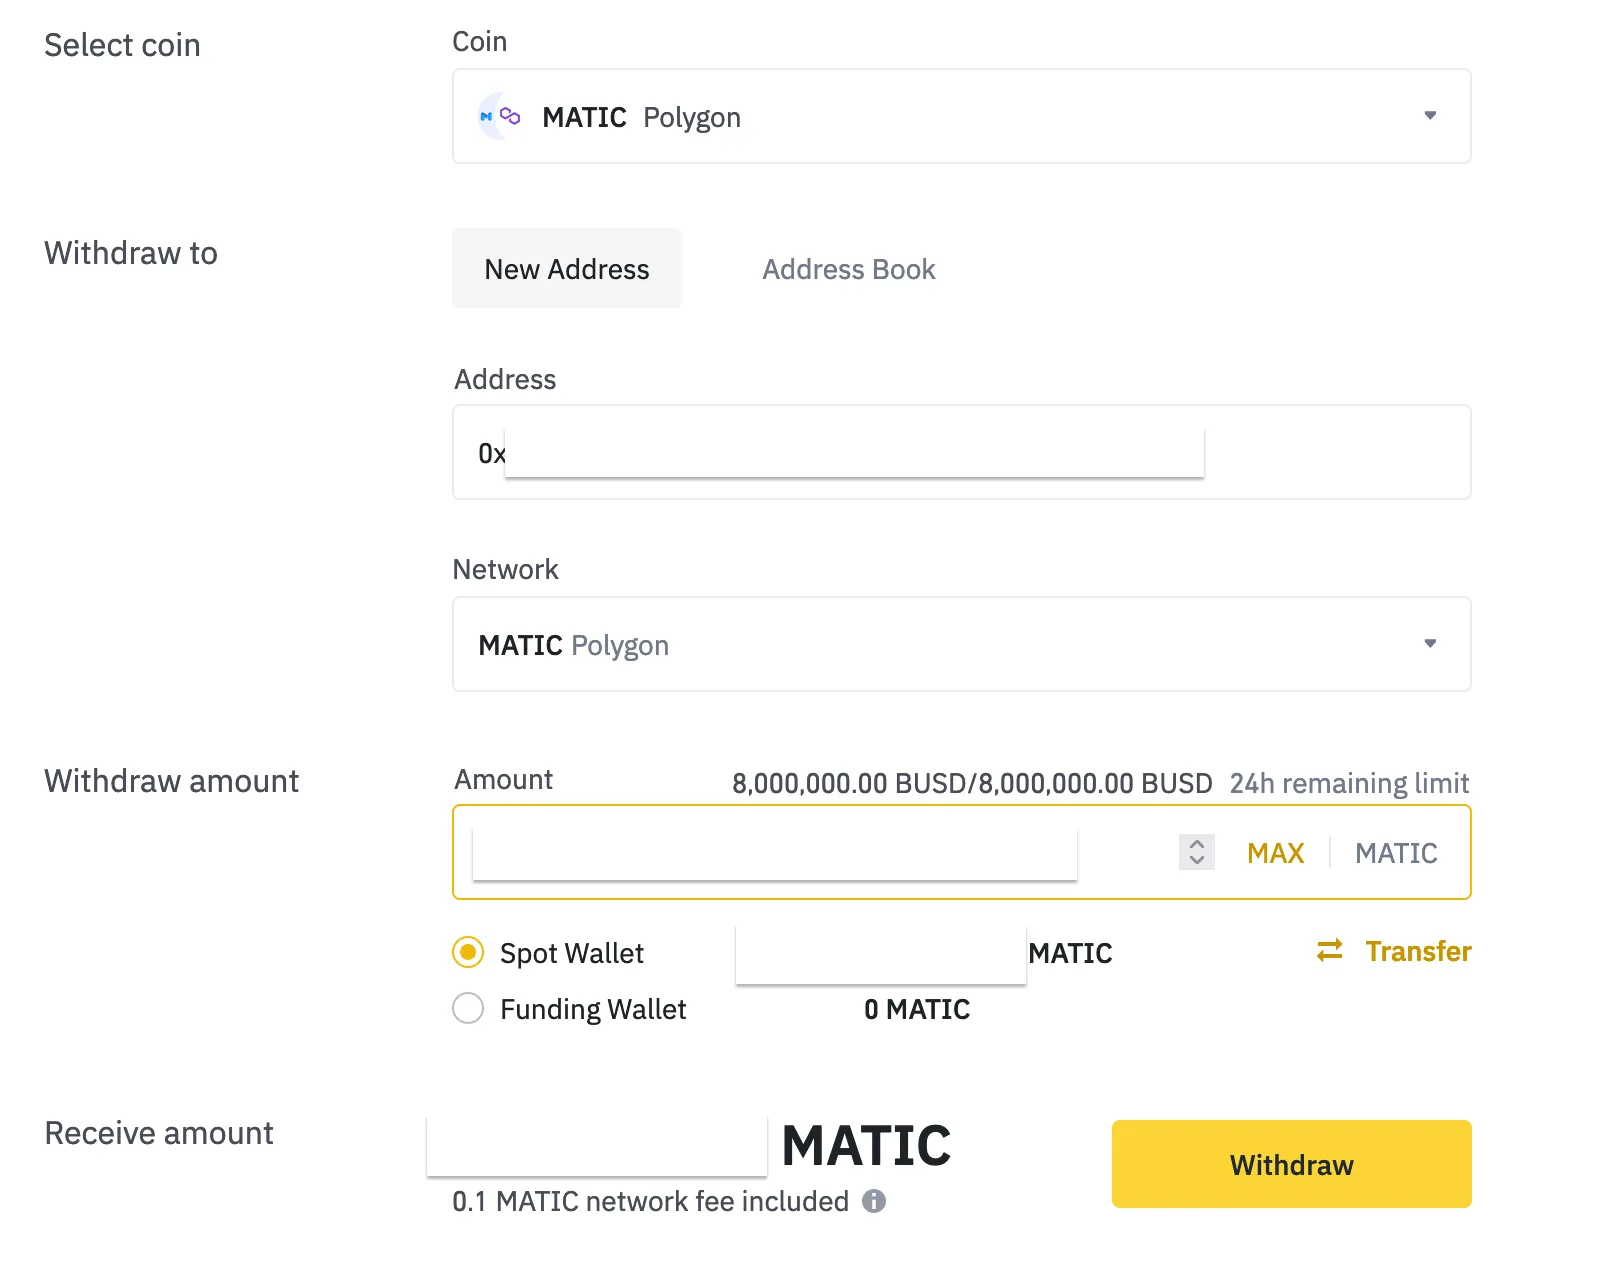
Always double check the receiving address! There is no such thing as undo and as a wallet owner is usually anonymous, you will not be able to get in touch with the beneficiary in case of a wrong transaction.
The transaction itself should not take more then a couple of seconds. Get back to your MetaMask plugin and celebrate your first successful crypto transaction as it now should show a balance for your Polygon wallet!
Mint your asset and create a token
From your account overview click Create. The first time you do this, it will open a MetaMask popup asking for your confirmation. This step will not trigger any costs. Done that you should see a form where you can upload your asset and provide some meta information that are self explaining. You just need the asset, a name and I suggest a description. Also make sure that you change the Polygon network at the bottom of the form. That’s all, you may leave the other settings unchanged.
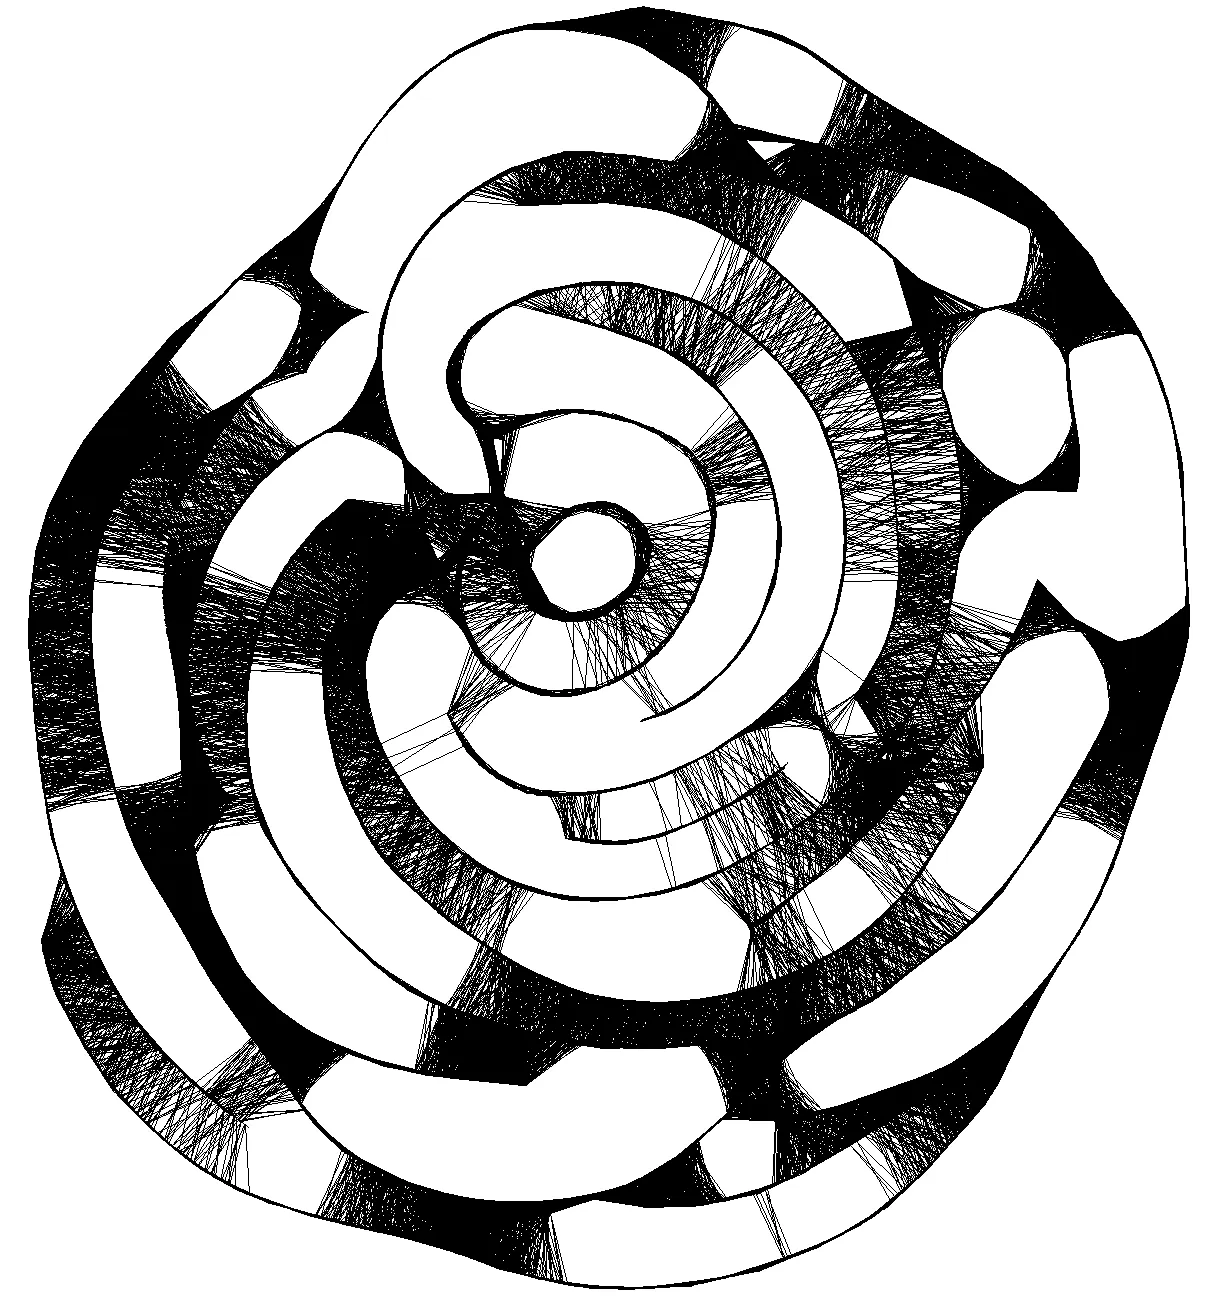
I uploaded this image I recently drew:
After clicking “Create” OpenSea should confirm the process with a little popup.
Sell the NFT
This step is quite simple: Click the sell button and set a price and how long you want to offer your piece of art. The confirmation requires you to sign it again with MetaMask.
And then you’re done. Your NFT is online and up for sale. Copy the sharing link, write something to gain attention and hope that beyond millions of other items yours will draw a little more attention and eventually a buyer.
Good luck!
And there’s the final product :)
Summary
Step-by-step guide to selling NFTs: wallet setup (MetaMask), Polygon network configuration, minting on OpenSea, listing and practical tips.
Main Topics: NFT Blockchain Cryptocurrency OpenSea MetaMask Polygon Digital Asset Web3
Difficulty: intermediate
Reading Time: approx. 15 minutes